How To Convert Gpt To Mbr

So, you’ve got a GPT disk and you need it to be MBR? First off, don’t panic. It’s not brain surgery, and you won’t need a soldering iron. Think of it as giving your hard drive...
So, you’ve got a GPT disk and you need it to be MBR? First off, don’t panic. It’s not brain surgery, and you won’t need a soldering iron. Think of it as giving your hard drive a little identity makeover.
Wait, What’s the Difference Anyway?
GPT and MBR are just two ways your computer talks to your storage. MBR is the old reliable—it’s been around since floppy disks were cool. GPT is the newer, fancier neighbor with more partitions and a backup table.
But here’s the kicker: MBR can’t handle drives over 2TB, and GPT is picky about older Windows versions. So if your PC’s a bit vintage or you’re dual-booting with an ancient BIOS, switching to MBR might be your ticket.
Must Read
Think of it like choosing between a classic vinyl record and a streaming playlist. Both play music, but one fits your turntable better.
Method 1: The “Do It With Windows Built-In Tools” (No Extra Downloads)
First, back up your data. Seriously. I know, I sound like your mom, but if you skip this, you’ll be crying into your keyboard later. Move everything important to an external drive or the cloud—no cheating.
Now, open Disk Management. Right-click the Start button (Windows key + X) and pick “Disk Management.” You’ll see a list of drives—find the one you want to convert. If it’s your main system drive, you’re doing this from a recovery environment, but let’s keep it simple for now.
Here’s the catch: Windows won’t let you convert a disk with data on it using this tool. You’ll see the “Convert to MBR” option grayed out like a bad haircut. Frustrating, right? That’s because you need to delete all partitions first. Yes, all of them.
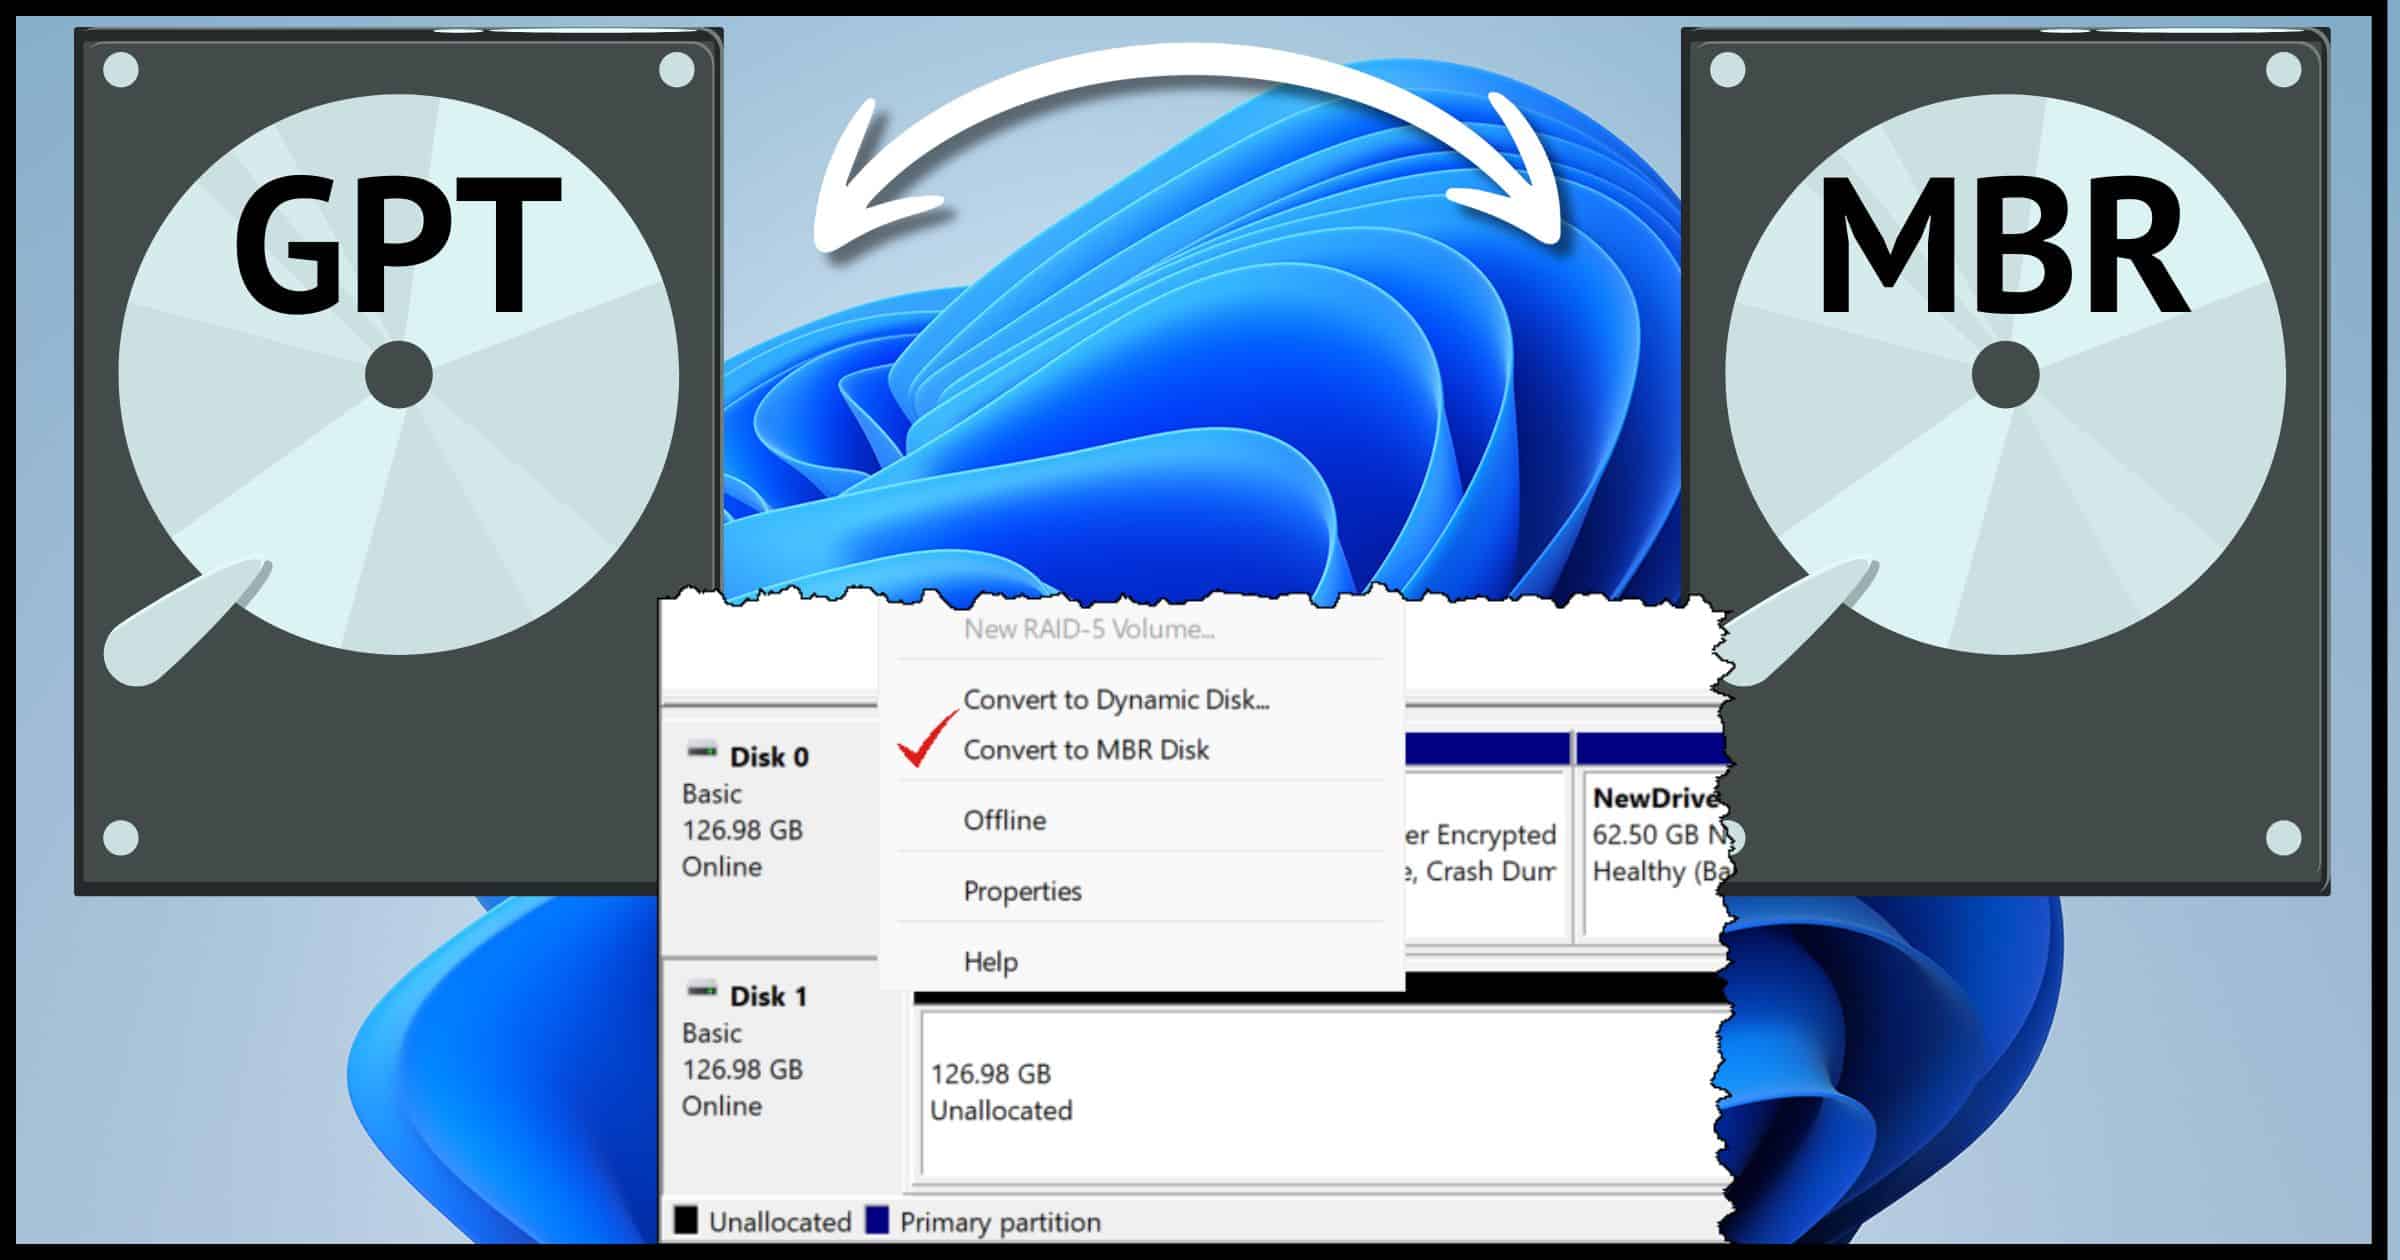
Right-click each partition on that disk and choose “Delete Volume.” Once it’s all unallocated space, right-click the disk name (left side, not the space) and hit “Convert to MBR Disk.” Boom—you’re done. It’s like wiping the slate clean for a fresh start.
 Convert GPT to MBR - Step by Step Guide - YouTube
Method 2: The “Third-Party Tool That Does the Heavy Lifting” (Way Less Painful)
If deleting everything sounds like dental torture, you’re not alone. Enter third-party tools like AOMEI Partition Assistant or MiniTool Partition Wizard. They’re like having a mechanic who changes your tire while you sip coffee.
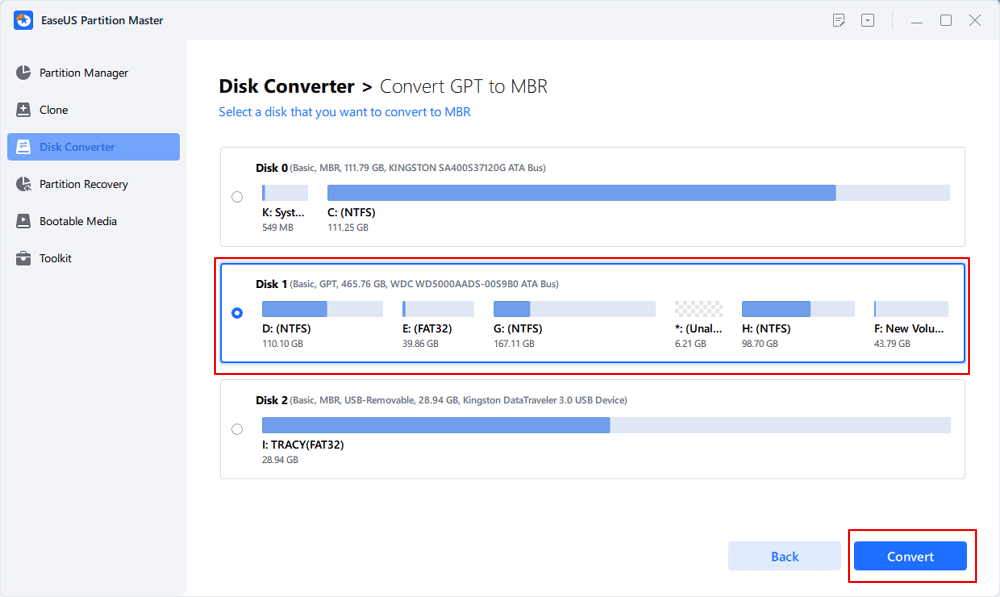
Download one (free versions work fine), install it, and launch it. You’ll see your disk with all its partitions intact. Right-click the disk you want to convert and choose “Convert to MBR.” The tool will do the magic without wiping your data. No files harmed in this process.
After you click “Apply” or “Commit,” the program will do its thing. Give it a minute—grab a snack, pet your cat, or do a victory dance. When it’s done, your drive will be MBR and all your photos, memes, and late-night spreadsheets will still be there.
Method 3: The “Command Line Hero” Move
Feeling like a hacker? Open Command Prompt as Administrator (search “cmd,” right-click, run as admin). Type diskpart and hit Enter. Then type list disk. You’ll see your disks—identify the one you want (check the size). Beware: this method also wipes the disk clean, so back up first.
Type select disk X (X is your disk number). Then clean—that’s you deleting everything. Finally, convert mbr and exit. It’s fast, it’s geeky, and honestly, it’s kind of fun. You’ll feel like Neo from The Matrix for about 10 seconds.
 How Do I Convert a GPT Disk to MBR? - Ask Leo!
What About My System Drive? (The Tricky One)
If you’re converting your Windows drive (C:), you can’t do it while the system is running. That’s like trying to change a tire while the car is speeding down the highway. You need a bootable USB or recovery environment.
Create a Windows installation USB, boot from it, and choose “Repair your computer” > “Troubleshoot” > “Advanced options” > “Command Prompt.” Then run the diskpart method from there. Or use a third-party tool’s bootable version—they usually offer that for free.
Just remember: back up first. I’ll keep saying it until you do it. Your files are precious—don’t treat them like forgotten leftovers in the fridge.
One Last Joke Before You Go
Why did the GPT disk break up with the MBR disk? Because it couldn’t handle the partition of their differences. Ba dum tss. Okay, that was terrible. I’ll see myself out.
And Now, the Uplifting Conclusion
You’ve just turned a potentially scary, technical task into a Friday-night project. Whether you used Windows tools, a third-party sidekick, or the command line, you did it. Your computer will boot, your files will be safe, and you’ll sleep better knowing you’ve mastered one more tiny piece of tech chaos.
Remember: every expert was once a beginner who accidentally clicked “delete volume” and panicked. You’re not alone. You’re just smarter now. So go ahead, reboot your system, run your old BIOS-friendly OS, and smile at that MBR disk. You earned it. And if something goes sideways? Hey, that’s what YouTube tutorials and crying emojis are for. You’ve got this.
