How To Convert All Purpose Flour To Self Rising Flour

Have you ever been halfway through a recipe, ready to whip up some fluffy pancakes or golden biscuits, only to realize you’re fresh out of self-rising flour? Don’t you dare pa...
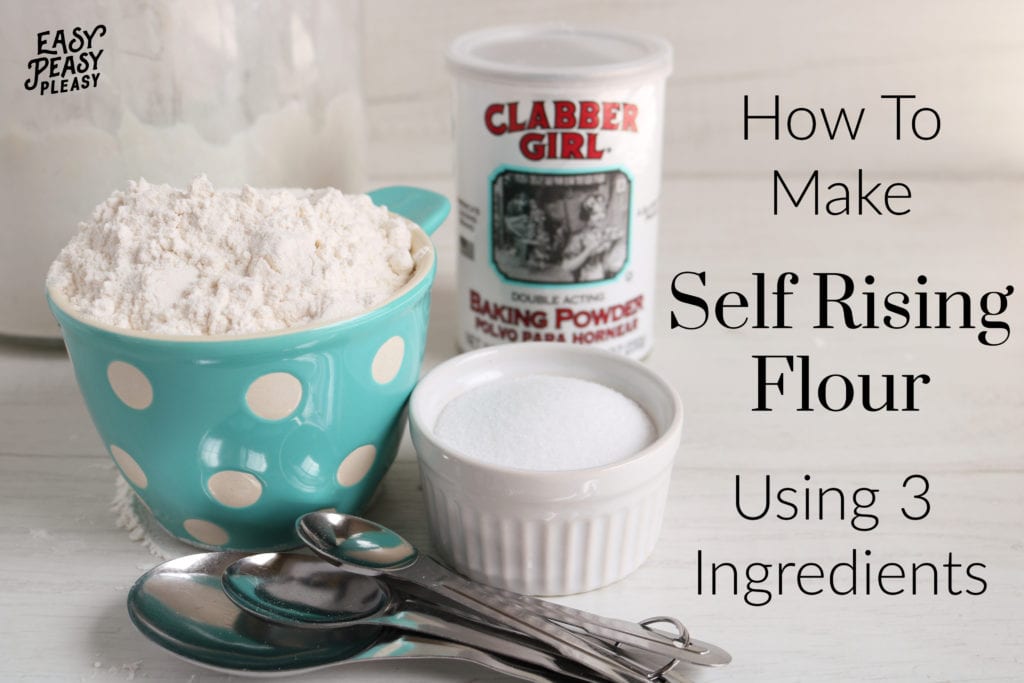
Have you ever been halfway through a recipe, ready to whip up some fluffy pancakes or golden biscuits, only to realize you’re fresh out of self-rising flour? Don’t you dare panic! You can turn that humble all-purpose flour into a leavening superhero in about sixty seconds. Trust me, this little trick is like having a secret magic wand right in your pantry.
What’s the Big Deal About Self-Rising Flour Anyway?
Think of self-rising flour as your lazy-day best friend. It already has baking powder and salt mixed in, so you don’t have to think twice. When you make your own, you’re not just saving a trip to the store—you’re also gaining total control over the salt level. Let’s be honest: nobody likes a biscuit that tastes like a salt lick.
The Simple Math (No Calculator Needed)
Here it is, the golden ratio that will change your baking life: For every one cup of all-purpose flour, add 1½ teaspoons of baking powder and ¼ teaspoon of salt. That’s it. Really. I promise you don’t need a PhD in chemistry for this—just a spoon and a whisk.
Must Read
Now, why does this work? The baking powder is your little bubble-maker, giving your cakes and muffins that glorious rise. The salt doesn’t just sit there looking pretty; it balances the flavor and keeps your baked goods from tasting flat. Together, they’re a dynamic duo straight out of a superhero comic.
How to Mix It Like a Pro
Grab a bowl (or a large measuring cup) and dump in your one cup of flour. Sprinkle the baking powder and salt on top. Then, take a whisk or a fork and stir like you’re mixing a victory dance—about 20 seconds of vigorous, joyful swirling. You want that powder distributed evenly, otherwise one bite might be a flavor bomb and the next a dud.
Pro tip: If you’re making a big batch, triple or quadruple the recipe and store it in an airtight container. Write the date on the lid with a sharpie. Then, next time you’re in a baking frenzy, you can just grab and go like a kitchen ninja. Who doesn’t want to feel prepared?
When Should You Use This Hacks?
Honestly, anytime you see “self-rising flour” in a recipe for biscuits, scones, pancakes, or even some quick breads, this swap works like a charm. I’ve used it for last-minute pizza dough (yes, that’s a thing) and it turned out beautifully. But avoid using it for yeast breads or delicate pastries like croissants—those need different kinds of magic.
Here’s the fun part: by making your own, you’re adjusting the salt. Prefer less salt? Cut it to ⅛ teaspoon. Going for a savory scone with cheese? Bump it up to ½ teaspoon. You are the quarterback of this flour bowl now, so call the plays.
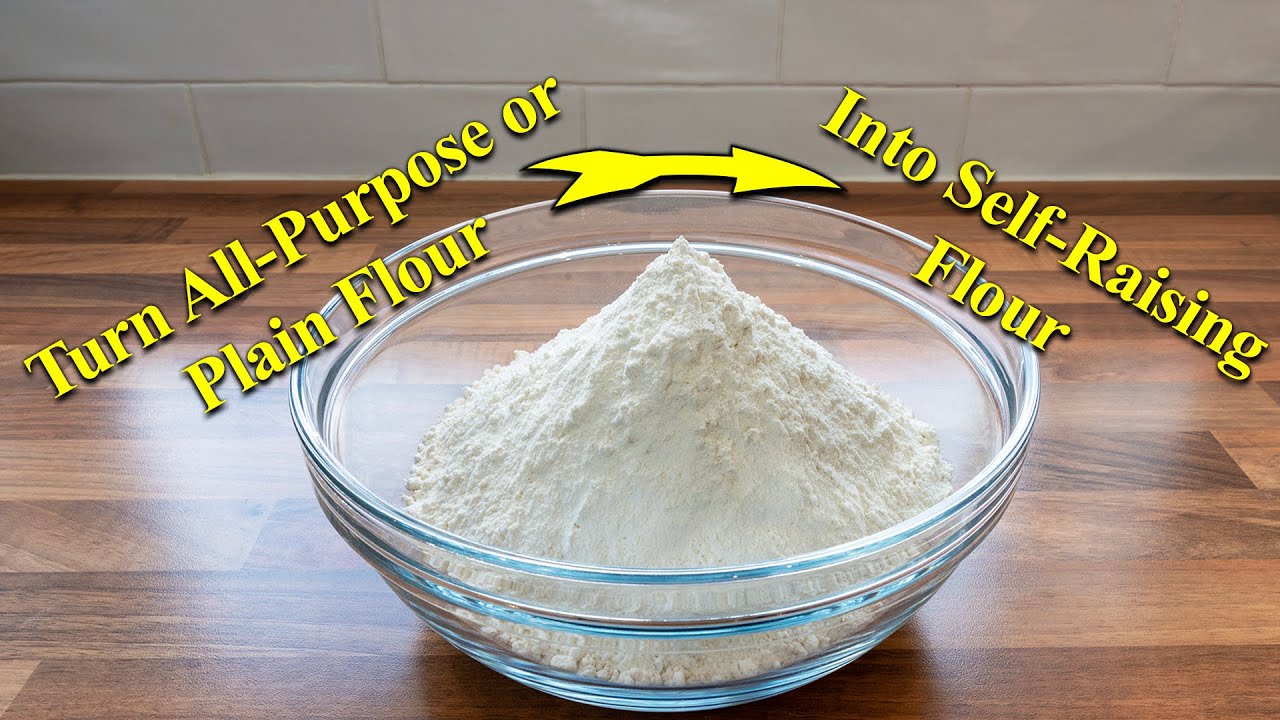 Convert All-Purpose or Plain flour into Self-Raising flour - YouTube
A Dash of Real Talk
What if you only have self-rising flour and need all-purpose? Reverse the trick: omit the salt and baking powder from your recipe. Baking is just a puzzle, and you’re the clever solver. But today, we’re turning AP flour into the fancy stuff—and loving every second of it.
One last warning: Don’t try to use self-rising flour you’ve made more than six months ago. Baking powder loses its oomph over time. If you want a test, drop a teaspoon of your homemade flour into a cup of hot water—if it fizzes, you’re good. If it sulks, make a fresh batch. No shame, just science.
Here’s Where It Gets Uplifting
You see, converting all-purpose flour to self-rising isn’t just about preventing a meltdown when the store is closed. It’s about freedom. It’s about realizing that you own your kitchen, and a missing ingredient is just an invitation to improvise. The next time a recipe demands something you don’t have, you’ll pause, smile, and think, “I can work with this.” That’s the kind of confidence that turns a good baker into a great one.
So go ahead—open that cabinet, grab the flour you already have, and transform it. You’re not just making a substitute; you’re proving to yourself that baking is play, not pressure. And the more you play, the more you learn, the more you fall in love with the messy, beautiful art of making food from scratch.
Now, what are you waiting for? Go rise to the occasion—literally. And remember: every great baker started exactly where you are, one whisk away from everything becoming more fun.
